Apple TV is a popular streaming platform that allows users to access various streaming services from a single device. Although it offers a wide range of content, some of the streaming services are geo-restricted, meaning that they are only available in certain countries.
However, with the help of a VPN, you can bypass these restrictions and access the content you want, regardless of your location. NordVPN is one of the most reliable VPN services, offering top-notch security and privacy to its users.
In this guide, we’ll show you how to set up and use NordVPN on your Apple TV, so you can enjoy your favorite content without any limitations.
What is a VPN?
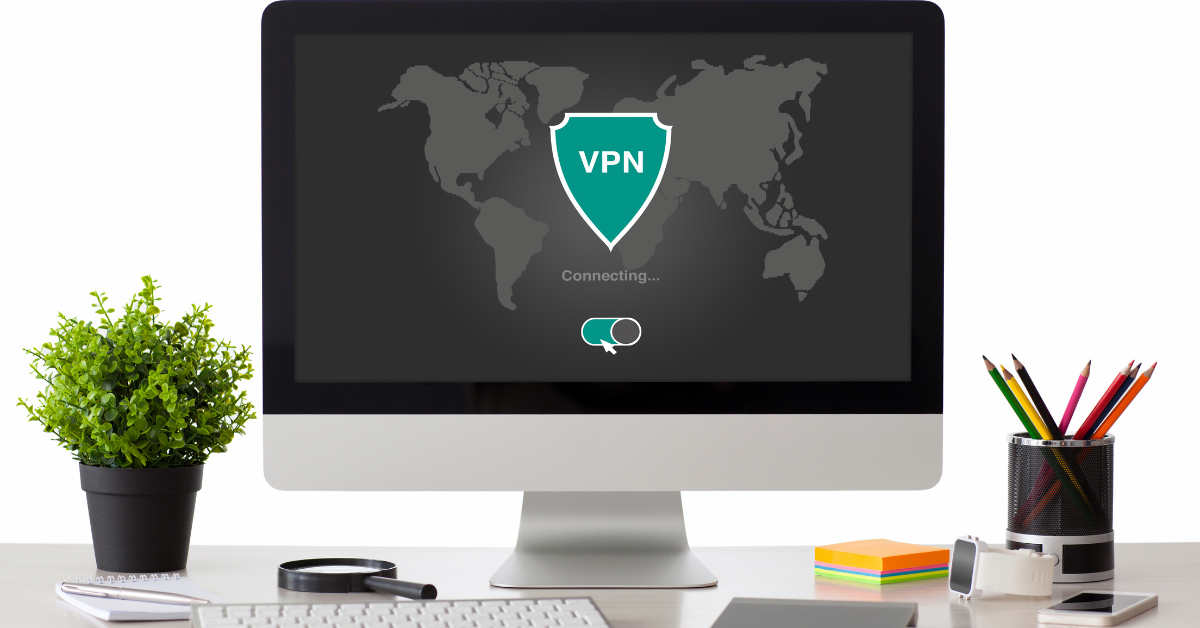
A VPN, or Virtual Private Network, is a technology that helps you to secure your internet connection and protect your privacy online.
When you use a VPN, your internet traffic is encrypted and routed through a secure server, which makes it difficult for anyone to intercept or monitor your online activities.
This can be especially useful when you are using public Wi-Fi networks, as they are often less secure and more vulnerable to hacking and data theft.
Additionally, a VPN can also help you to bypass geo-restrictions and access content that may be blocked in your region.
Why Do I Need a VPN for My Apple TV?
Using a VPN (Virtual Private Network) with your Apple TV can offer several benefits. Let’s explore why you might want to consider it:
Access Geo-Restricted Content
A VPN allows you to unblock content that is restricted based on your geographical location. With a VPN, you can access streaming services and shows that are not available in your country.
For example, you can watch BBC iPlayer (available only in the UK) or explore different exclusive titles on foreign Netflix catalogs.
Enhanced Privacy and Security
VPNs encrypt your internet traffic, making it difficult for anyone (including your Internet Service Provider) to spy on your online activities.
They also prevent data throttling, ensuring a smoother streaming experience.
Using Apple TV Abroad
If you’re traveling or living abroad, a VPN allows you to access services as if you were in your home country.
You can continue enjoying your favorite shows and movies without restrictions.
How to Set Up and Use NordVPN on Apple TV – Different Methods

Download NordVPN for Apple TV
Setting up NordVPN on your Apple TV might seem like a daunting task, but it’s actually quite simple.
Then, you’ll need to configure your router to connect to NordVPN. Once your router is configured, you can connect your Apple TV to the VPN-enabled router and start streaming your favorite content.
In this guide, we’ll walk you through the entire process step by step, so you can set up NordVPN on your Apple TV with ease:
1. Open the App Store on your Apple TV.
Use the Siri Remote to navigate to the “App Store” icon on your Apple TV home screen.
2. Search for “NordVPN” and select the app.
Use the Siri Remote to type “NordVPN” into the search bar and select the NordVPN app from the results. Sign up for a NordVPN subscription and download the NordVPN app on your iOS device.
3. Download and install the app.
Select the “Get” button next to the NordVPN app. It will start downloading and installing automatically.
4. If you already have the NordVPN app, simply log in:
If you previously installed the NordVPN app, select the “Open” button instead of “Get”.
- Open the App Store on your Apple TV.
- Search for “NordVPN” and select it.
- Click the “Log in” button.
- You will receive a privacy notification. Click “Agree and continue.”
- Scan the QR code with your phone.
- Verify it’s you by entering the code you see on your TV screen.
- Click the “Quick Connect” button.
5. Follow the on-screen instructions to complete the setup.
This may involve creating a NordVPN account or logging in to an existing one, accepting terms and conditions, and choosing a subscription plan if necessary.
Install NordVPN on your router
Setting up NordVPN on your router is a smart move to secure your entire network. The process may vary based on your router’s firmware or manufacturer. Here are the general steps:
1. The first step is to check if your router is compatible with NordVPN. You can do this by visiting the NordVPN website or contacting customer support.
2. Once you have confirmed compatibility, you need to log in to your router’s admin panel. The login details are usually printed on the router or can be found in the user manual. This might take 4-10 minutes at maximum.
3. Next, you need to locate the VPN settings in the router’s admin panel. This can usually be found under the “Advanced” or “Security” settings.
4. Now, you need to enter the NordVPN server details. You can find the list of NordVPN servers on their website. Choose the server you want to use and enter the server details in the VPN settings on your router.
5. Save the VPN settings and test the connection to ensure that it is working properly.
6. Once the connection is established, you can connect your devices to the router and enjoy secure and private internet access.
Pros & Cons of Running NordVPN on your router
Pros of Using NordVPN:
Secures Your Data. NordVPN encrypts your browsing traffic, safeguarding personal information like private messages, passwords, and financial data. It’s especially crucial when using unsecured public Wi-Fi networks, which are prime targets for hackers.
Protects Your Online Privacy. NordVPN leaves no traces of your online habits. Their location in Panama, with no data retention laws, ensures privacy. They use top-tier encryption (256-bit AES) and PGP keys for communication.
Change Your IP Address. NordVPN masks your IP address, enhancing anonymity.
Protection in Hostile Environments. It serves as a handy tool for activists working in challenging conditions.
No Bandwidth Throttling. NordVPN prevents bandwidth throttling based on certain activities.
Better Online Gaming Experience. NordVPN can improve your gaming experience by reducing lag and protecting against DDoS attacks.
Remote Work Security. It keeps you secure while working remotely.
Cons of Using NordVPN:
Slower Connection. VPNs can slightly slow down your internet speed due to encryption and processing overhead.
Insecure VPNs. Some VPNs may not provide robust security.
Subscription Costs. Premium VPNs like NordVPN come with a cost.
Incompatibility with Certain Devices. Not all devices support VPN configurations.
Doesn’t Protect from Voluntary Data Collection. While it secures your data, it doesn’t prevent voluntary data sharing on social media.
Share a VPN Connection via Your Computer (macOS)
Requirements: You’ll need a Mac computer with an active VPN connection.
Steps:
- Sign up for a VPN service (choose one compatible with macOS).
- Manually configure the macOS VPN client to use the VPN.
- Connect your Apple TV to your Mac using an Ethernet cable.
- On your Mac, go to System Preferences > Sharing.
- Choose Share your connection from (select the VPN connection you set up manually).
- Choose To computers using and select Wi-Fi.
- Click on Wi-Fi Options to set a network name and password.
- Connect your Apple TV to the newly created Wi-Fi hotspot.
- Your Apple TV is now sharing the VPN connection with your computer
Set up a VPN using SmartDNS
SmartDNS offers benefits like unblocking geographically restricted content, it’s not a true VPN. True VPNs encrypt your internet traffic and anonymize your online activity, while SmartDNS only redirects DNS traffic for specific services. So, setting up a “VPN” using SmartDNS isn’t possible in the strict sense.
However, you might be looking to achieve specific goals similar to what a VPN offers, and SmartDNS could be a helpful tool. Here’s how it can be used depending on your needs:
1. Accessing Geo-restricted Content
If your goal is to unblock streaming services or websites restricted in your region, SmartDNS can be a good option. Here’s how:
- Choose a SmartDNS provider: Several providers offer SmartDNS services, popular ones include Smart DNS Proxy and Unlocator.
- Sign up for their service: Choose a plan based on your needs and budget.
- Configure your device: Follow the provider’s instructions to update your DNS settings on your router, computer, or streaming device.
- Enjoy the content: Once configured, you should be able to access previously blocked content.
2. Improving Streaming Performance
SmartDNS can sometimes improve streaming performance by directing your traffic through more efficient DNS servers. However, this isn’t guaranteed and depends on various factors.
6 Situations Where You Might Need a VPN
Streaming, Gaming, Public Wi-fi, Browsing, Travelling, Shopping
- Public Wi-Fi: Connecting to public Wi-Fi networks, like those in cafes, airports, or hotels, poses security risks. Hackers can easily intercept your unencrypted data, including passwords and financial information. Using a VPN encrypts your data, making it unreadable even if someone tries to capture it.
- Geo-restricted content: Some websites and streaming services restrict access based on your location. A VPN allows you to connect to a server in another country, essentially changing your virtual location and granting access to previously unavailable content.
- Data privacy and anonymity: If you value online privacy and anonymity, a VPN can be a valuable tool. It hides your real IP address and encrypts your internet traffic, making it difficult for third parties to track your online activity or identify your location.
- Censorship circumvention: If you live in a country with internet censorship, a VPN can help you bypass restrictions and access blocked websites and information. By connecting to a server in a country with free internet access, you can circumvent censorship filters.
- Protecting sensitive information: When handling sensitive information, like banking details or health data, using a VPN adds an extra layer of security. Encryption protects your data from unauthorized access, even if your device gets compromised.
- Business security: Businesses can use VPNs to create secure remote access for employees working from home or traveling. Additionally, VPNs can protect sensitive company data by encrypting communication between different locations.
It’s important to note that VPNs aren’t perfect solutions and have limitations. For example, they can impact internet speed and might not be completely immune to sophisticated surveillance techniques.


